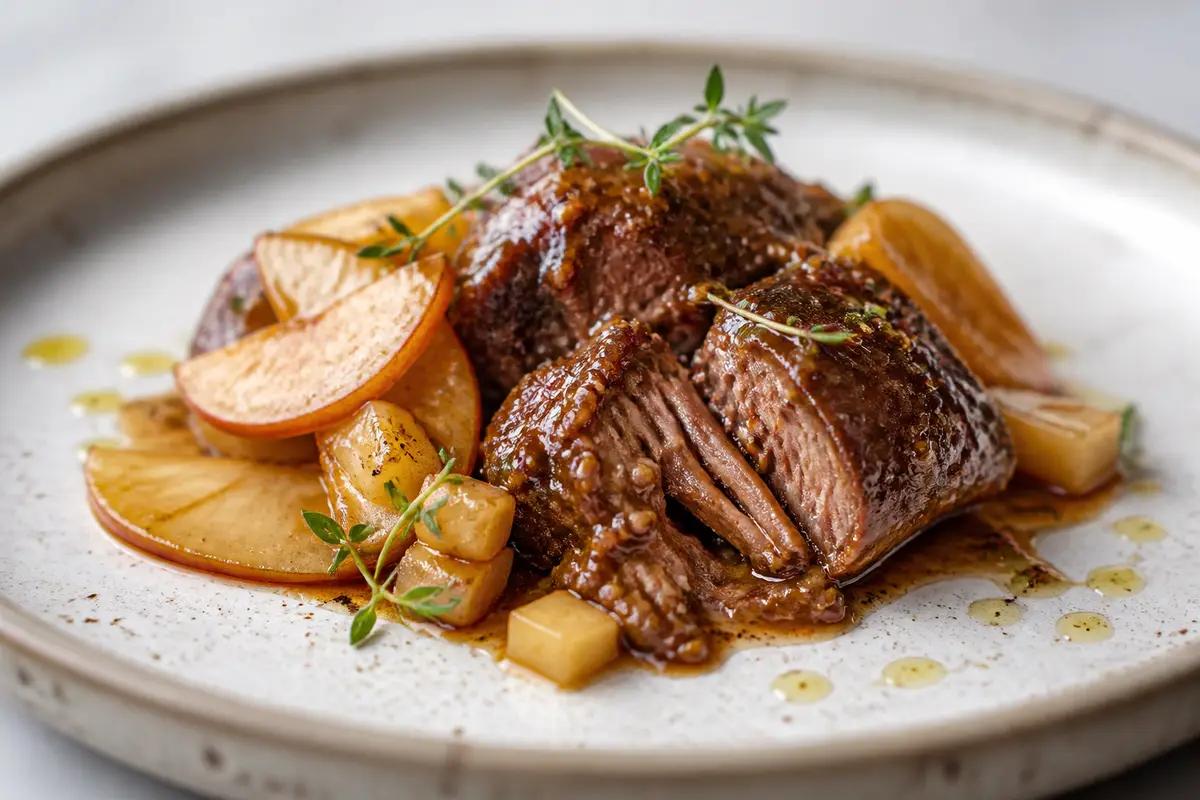
Instant Pot Pork Cheeks with Cider, Mustard, and Apple
An original Instant Pot recipe featuring tender pork cheeks pressure-cooked in a bright cider, mustard, and apple sauce, finished with onion, garlic, and thyme for a comforting yet elegant dish.
Ingredients
- 900 g pork cheeks (limpias)
- 8 g salt (divided)
- 2 g black pepper (freshly ground)
- 15 ml olive oil
- 180 g yellow onion (en pluma fina)
- 180 g apple (pelada and diced)
- 12 g garlic (chopped)
- 30 g Dijon mustard
- 240 ml apple cider (without alcohol or dulce, no vinagre)
- 180 ml chicken broth
- 4 g fresh thyme (solo the leaves)
- 1 unit bay leaf
- 15 ml apple cider vinegar
- 8 g cornstarch
- 15 ml water (for disolver the maicena)
- 8 g fresh parsley (chopped for terminar)
Nutrition facts
per serving
Approximate nutritional information. Estimated from the recipe’s ingredients and amounts, using standard reference nutrition values. It may vary with brands, sizes and cooking method. For guidance only; not a substitute for medical or dietary advice.
Allergens
Instructions
- 1
Season the pork cheeks all over with 6 g of the salt and the black pepper.
- 2
Turn the Instant Pot to Sauté mode on high. Once hot, add the olive oil and brown the pork cheeks in batches for 3 to 4 minutes per side, until well colored. Remove and set aside.
- 3
Add the onion and apple to the pot and sauté for 4 minutes, stirring. Add the garlic and cook for 30 seconds more.
- 4
Stir in the Dijon mustard, apple cider, chicken broth, fresh thyme, bay leaf, apple cider vinegar, and the remaining 2 g salt. Scrape the bottom of the pot well to release the browned bits.
- 5
Return the pork cheeks to the pot along with any collected juices. Lock the lid and cook on high pressure for 35 minutes.
- 6
Let the pressure release naturally for 10 minutes, then carefully quick-release the remaining pressure. The safe internal temperature for pork should reach at least 145°F (63°C), though this preparation becomes more tender with the longer cooking time.
- 7
Remove the pork cheeks and the bay leaf. If desired, keep the meat warm loosely covered or in a warm oven at 170°F (75°C).
- 8
Mix the cornstarch with the water to make a smooth slurry. Turn Sauté mode back on, add the slurry to the sauce, and cook for 2 to 3 minutes, stirring, until lightly thickened.
- 9
Return the pork cheeks to the sauce and coat them well. Turn off the pot, sprinkle with the fresh parsley, and serve hot with some of the onion and apple over each portion.
Chef tips
For deeper flavor, brown the pork cheeks well without overcrowding. If the sauce tastes too intense, add 2 to 3 extra tablespoons of broth before thickening.
Substitutions
You can substitute pork shoulder cubes for the pork cheeks. Apple can be replaced with firm pear. If you do not have fresh thyme, use 1 teaspoon dried thyme.
What I used to make it
Generic kitchen tools that work for this recipe. You don’t need to buy anything to make it.
 Illustrative image
Cosori Pro LE 5 Qt Air Fryer
Browning and baking with little oil
- Browns food with very little oil
- Handy for vegetables, chicken and reheating
- Check the basket capacity
 Illustrative image
TempPro TP19H Digital Thermometer
Checking doneness of meat and chicken
- Checks doneness of meat and chicken
- Quick reading
- Clean the probe after each use
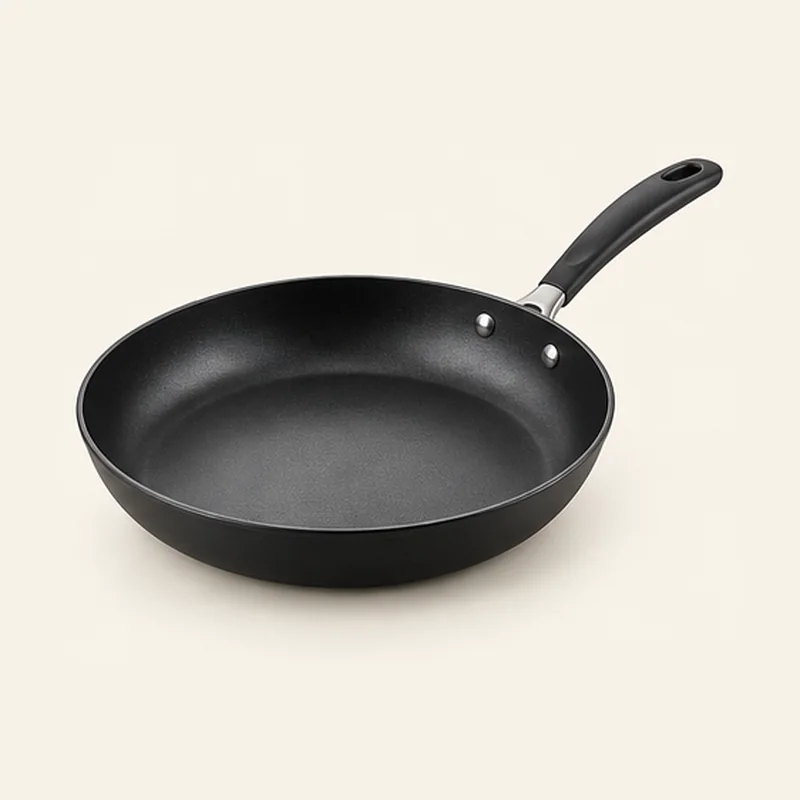 Illustrative image
T-fal Ultimate Hard Anodized 12" Non-Stick Pan
Eggs, omelets and stir-fries
- Eggs and omelets that don’t stick
- Comfortable, sturdy handle
- Use wooden or silicone utensils
As an Amazon Associate, I earn from qualifying purchases.
Ratings & reviews
Sign in to rate this recipe
Sign inRelated recipes
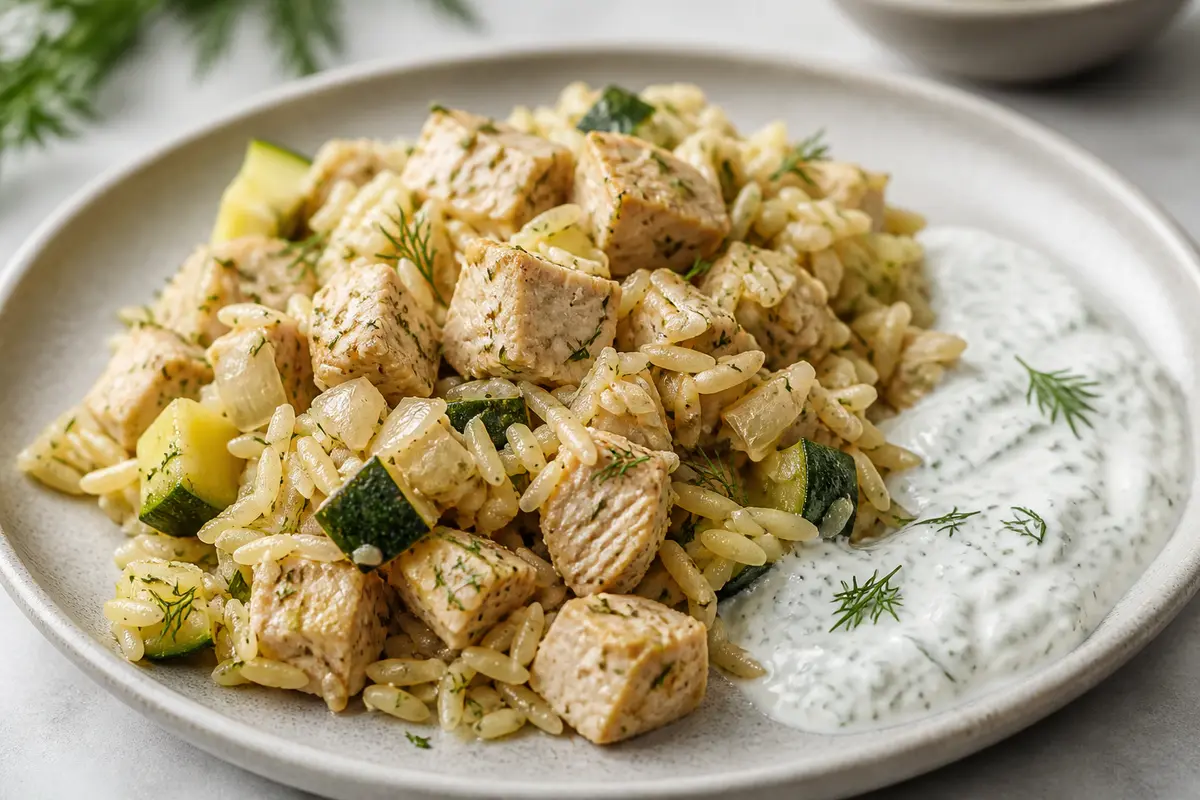
Instant Pot Turkey with Zucchini, Herbed Rice and Mild Dill Yogurt Sauce
38 min

Instant Pot Saffron Chicken with Artichokes, Peas, and Basmati Rice
45 min
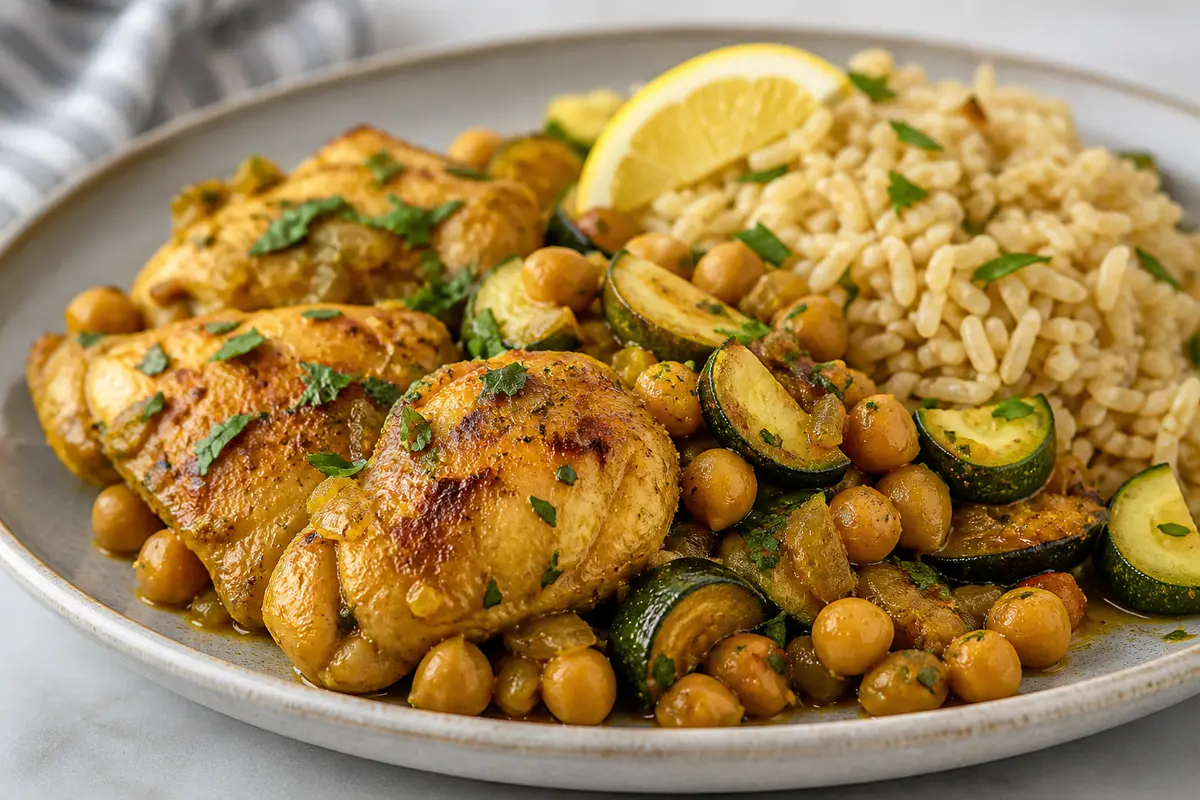
Instant Pot saffron chicken with chickpeas, zucchini, and lemon brown rice
50 min
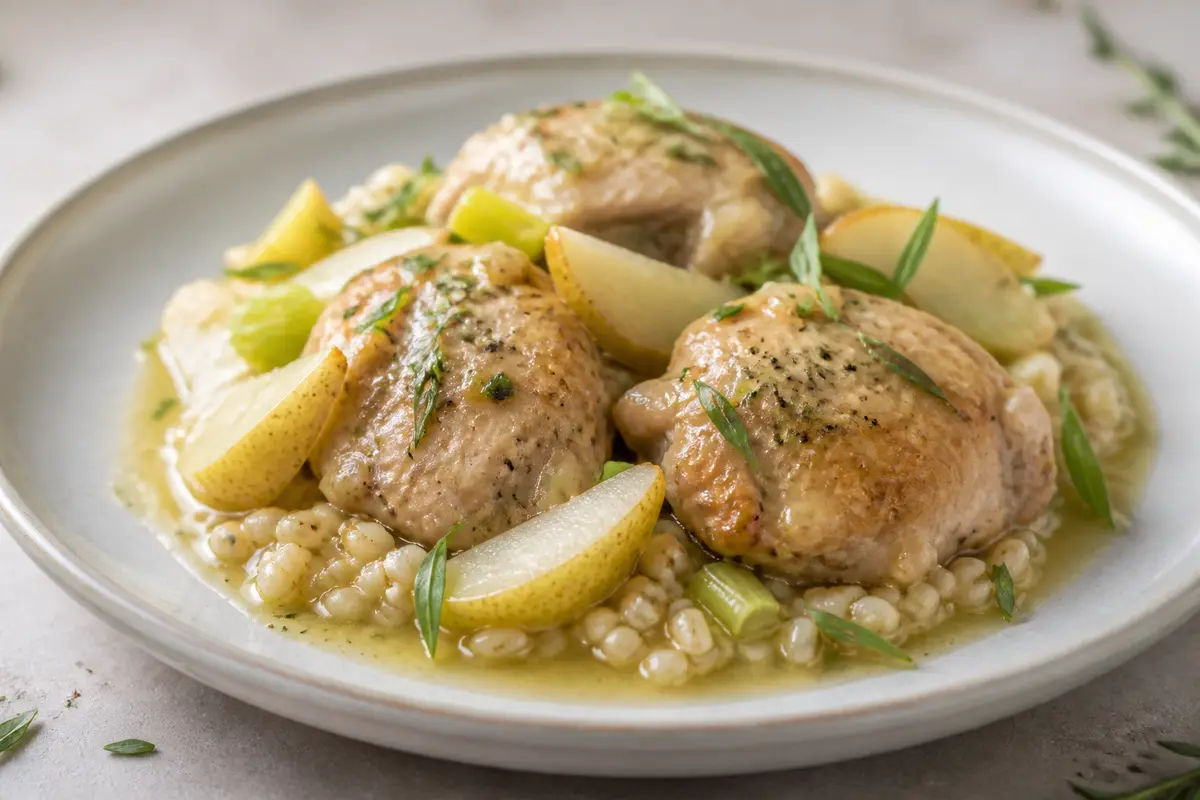
Instant Pot Chicken with Pear, Leeks, Barley and Light Tarragon Sauce
45 min
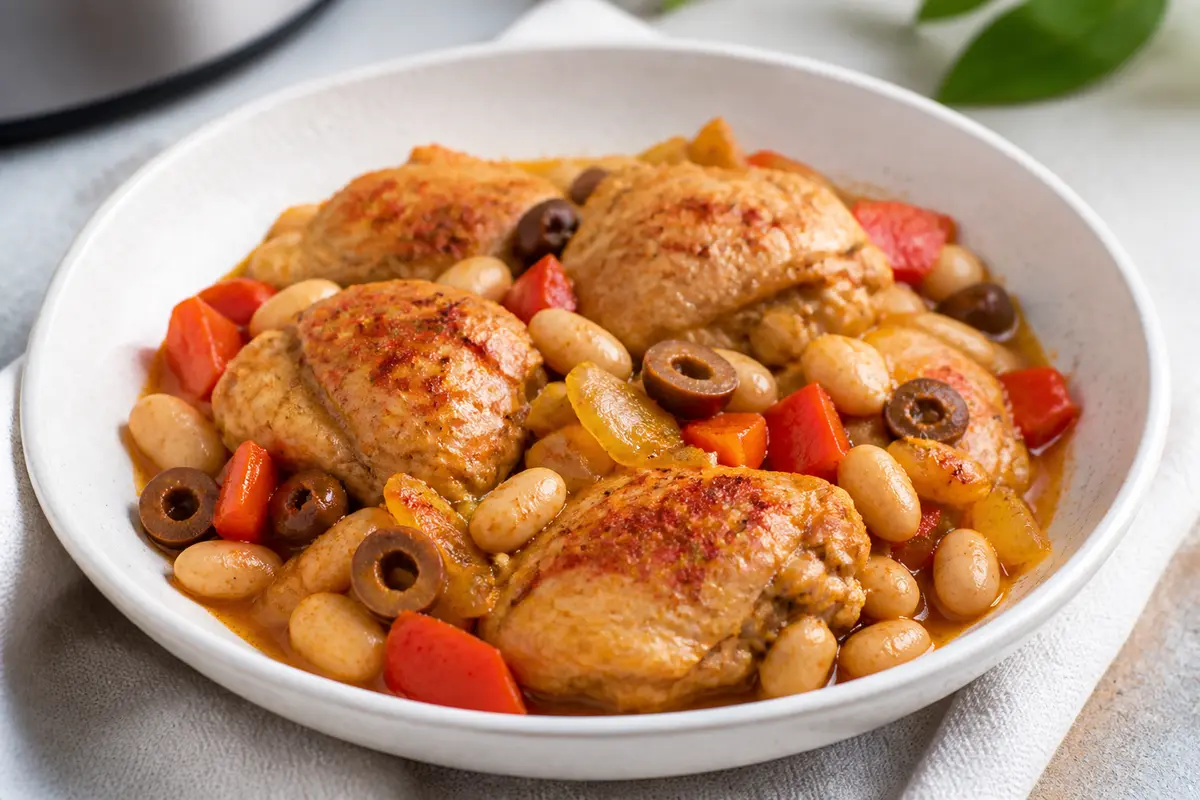
Instant Pot Paprika Chicken Thighs with White Beans and Olives
55 min
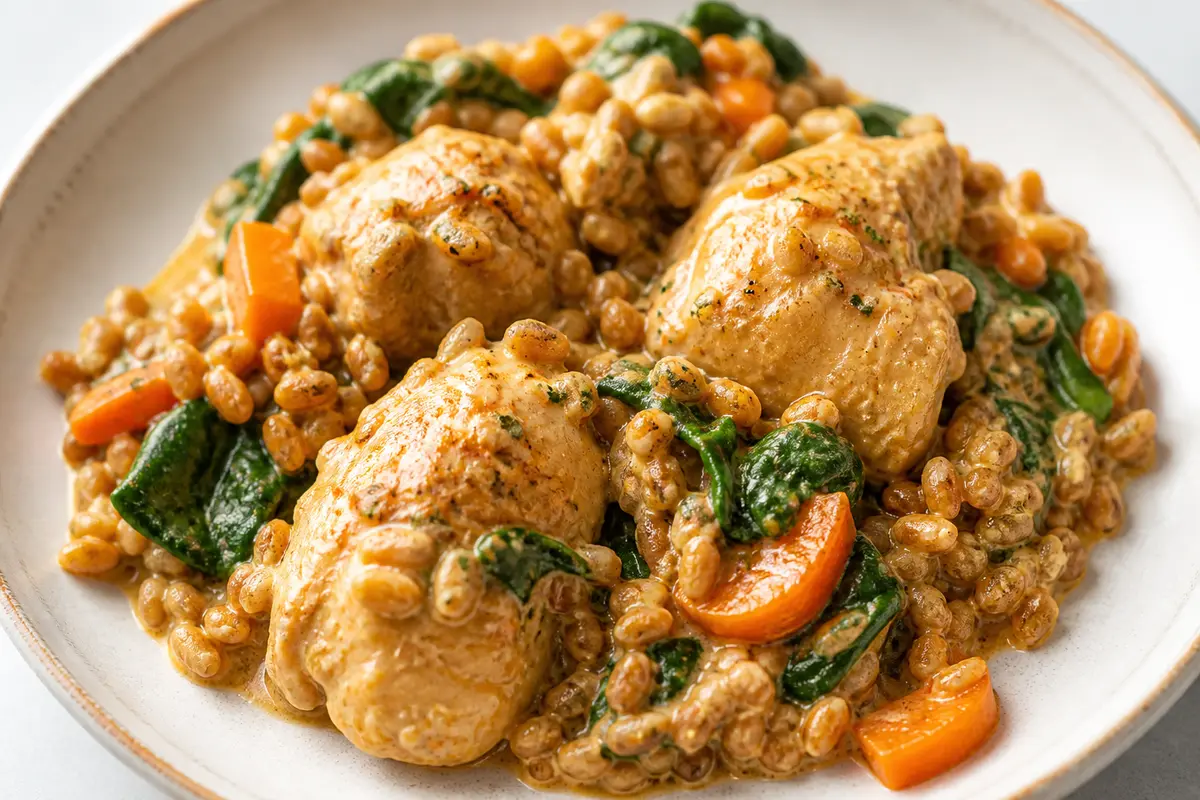
Instant Pot Spiced Yogurt Chicken with Wheat Berries, Carrots, and Spinach
50 min