 Brazilian Food
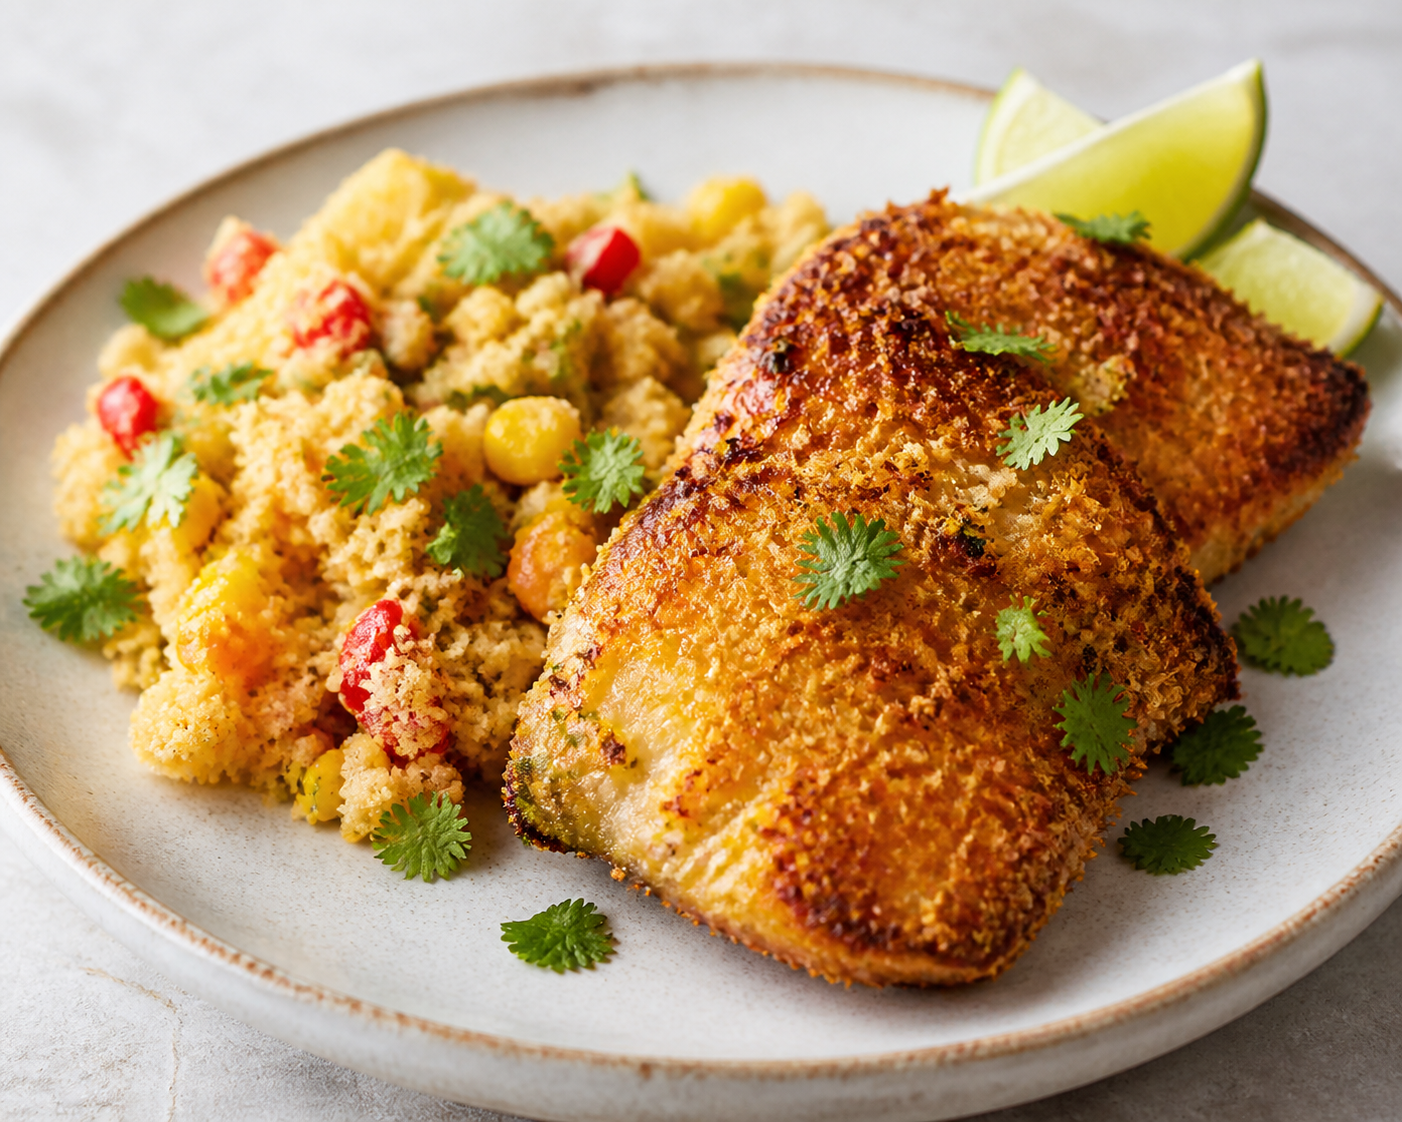
Brazilian Baked Chicken with Coconut Crust and Corn Farofa with Peppers
An original recipe inspired by Brazilian flavors: chicken thighs marinated with lime, garlic, and cilantro, baked with a light coconut crust and served with sautéed corn farofa with peppers, onion, and butter. Aromatic, crunchy, and comforting.
Ingredients
- 700 g boneless skinless chicken thighs (cut en pieces large)
- 4 cloves garlic (chopped finely)
- 2 units lime (1/4 cup de jugo en total)
- 20 g fresh cilantro (chopped)
- 4 g sweet paprika
- 2 g ground cumin
- 6 g salt (or to taste)
- 2 g black pepper (freshly ground)
- 30 ml olive oil (divided)
- 40 g unsweetened shredded coconut
- 120 g cassava flour (for the farofa)
- 30 g butter
- 120 g onion (finely chopped)
- 120 g red bell pepper (diced small)
- 120 g yellow bell pepper (diced small)
- 15 g chives or scallions (chopped)
- 60 ml chicken broth (for humedecer lightly the farofa)
Nutrition facts
per serving
Approximate nutritional information. Estimated from the recipe’s ingredients and amounts, using standard reference nutrition values. It may vary with brands, sizes and cooking method. For guidance only; not a substitute for medical or dietary advice.
Allergens
Instructions
- 1
1. Preheat the oven to 220 °C / 425 °F. Lightly grease a baking tray or baking dish with 1 tablespoon of olive oil.
- 2
2. In a large bowl, mix the garlic, lime juice, lime zest, cilantro, sweet paprika, cumin, salt, black pepper, and 1 tablespoon of olive oil. Add the chicken thighs and toss well to coat. Let marinate for 15 minutes.
- 3
3. Arrange the marinated chicken on the prepared tray in a single layer. Sprinkle the shredded coconut over the top of each piece, pressing gently so it sticks.
- 4
4. Bake the chicken for 25 to 30 minutes at 220 °C / 425 °F, until fully cooked and browned around the edges.
- 5
5. While the chicken bakes, make the farofa. Heat the butter in a large skillet over medium heat. Add the onion, red bell pepper, and yellow bell pepper, and cook for 5 to 6 minutes until softened.
- 6
6. Stir in the cassava flour and cook, stirring constantly, for 3 to 4 minutes to lightly toast it without burning.
- 7
7. Add the chicken broth little by little to lightly moisten the mixture, then add the chives or scallions and cook 1 minute more. Taste and adjust with a little more salt or pepper if needed.
- 8
8. Serve the hot chicken over a bed of cassava farofa with peppers. Finish with any remaining cilantro if desired.
Chef tips
For a toastier crust, place the chicken under the oven broiler for 1 to 2 minutes at the end, watching closely so the coconut does not burn.
Substitutions
You can use chicken breast instead of thighs, slightly reducing the cooking time. If you cannot find cassava flour, use coarse cornmeal, though the result will be less traditional. Chives can be replaced with fresh parsley.
What I used to make it
Generic kitchen tools that work for this recipe. You don’t need to buy anything to make it.
 Illustrative image
Cosori Pro LE 5 Qt Air Fryer
Browning and baking with little oil
- Browns food with very little oil
- Handy for vegetables, chicken and reheating
- Check the basket capacity
 Illustrative image
TempPro TP19H Digital Thermometer
Checking doneness of meat and chicken
- Checks doneness of meat and chicken
- Quick reading
- Clean the probe after each use
 Illustrative image
T-fal Ultimate Hard Anodized 12" Non-Stick Pan
Eggs, omelets and stir-fries
- Eggs and omelets that don’t stick
- Comfortable, sturdy handle
- Use wooden or silicone utensils
As an Amazon Associate, I earn from qualifying purchases.
Ratings & reviews
Sign in to rate this recipe
Sign inRelated recipes
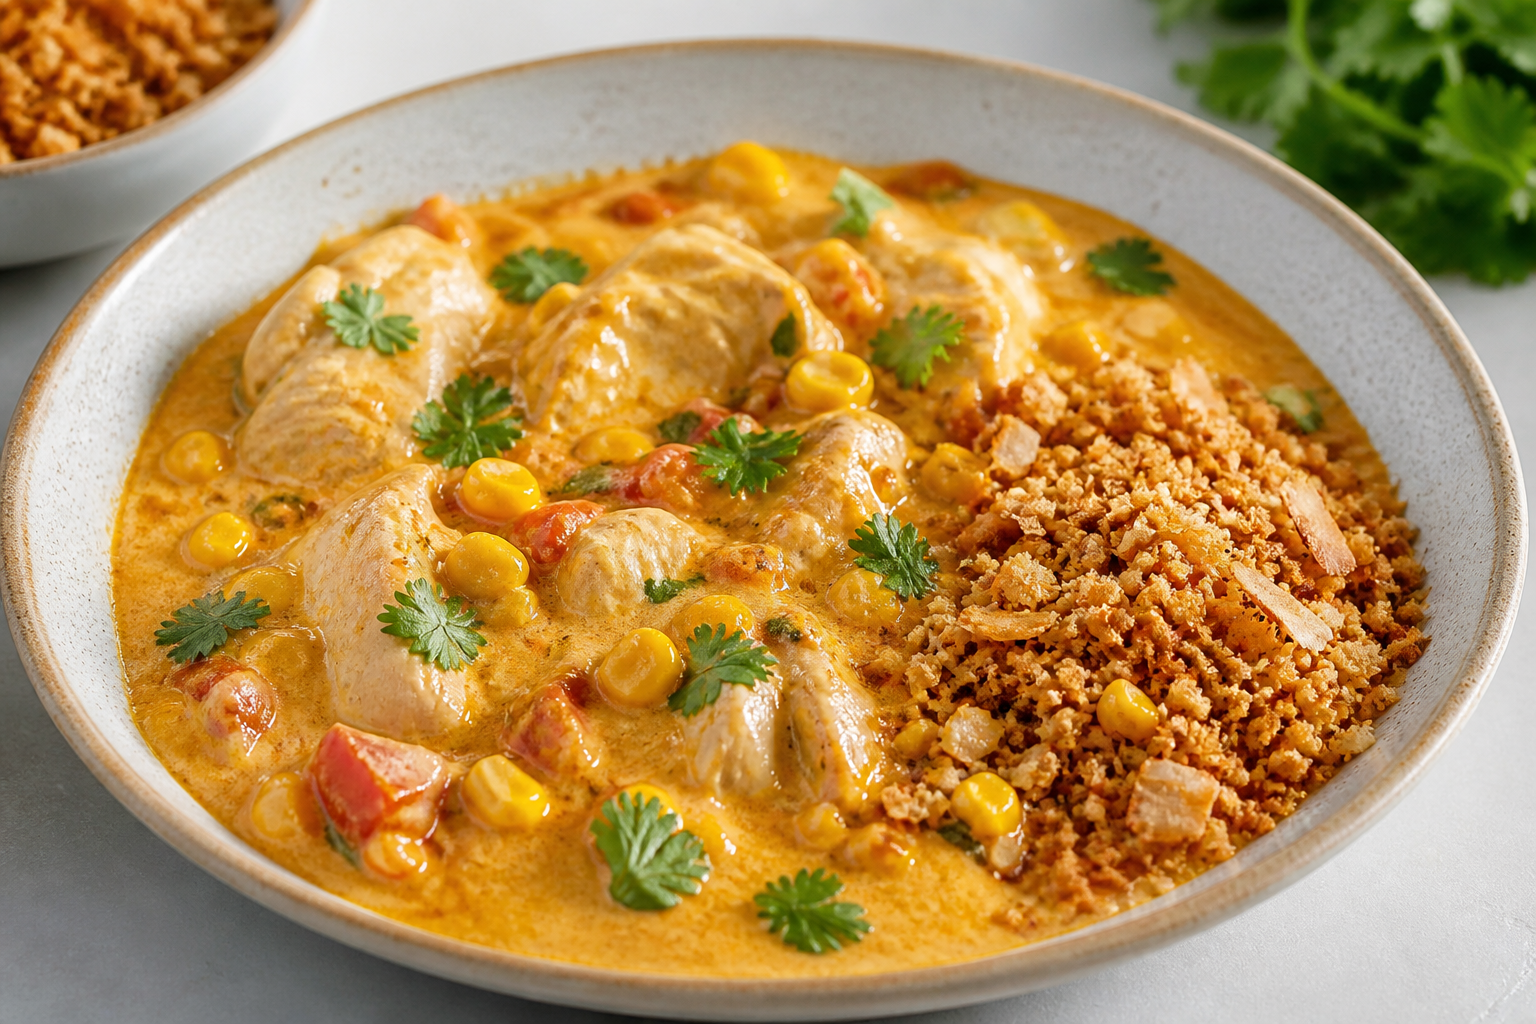
Creamy chicken moqueca with toasted corn, cilantro, and crispy coconut farofa
55 min
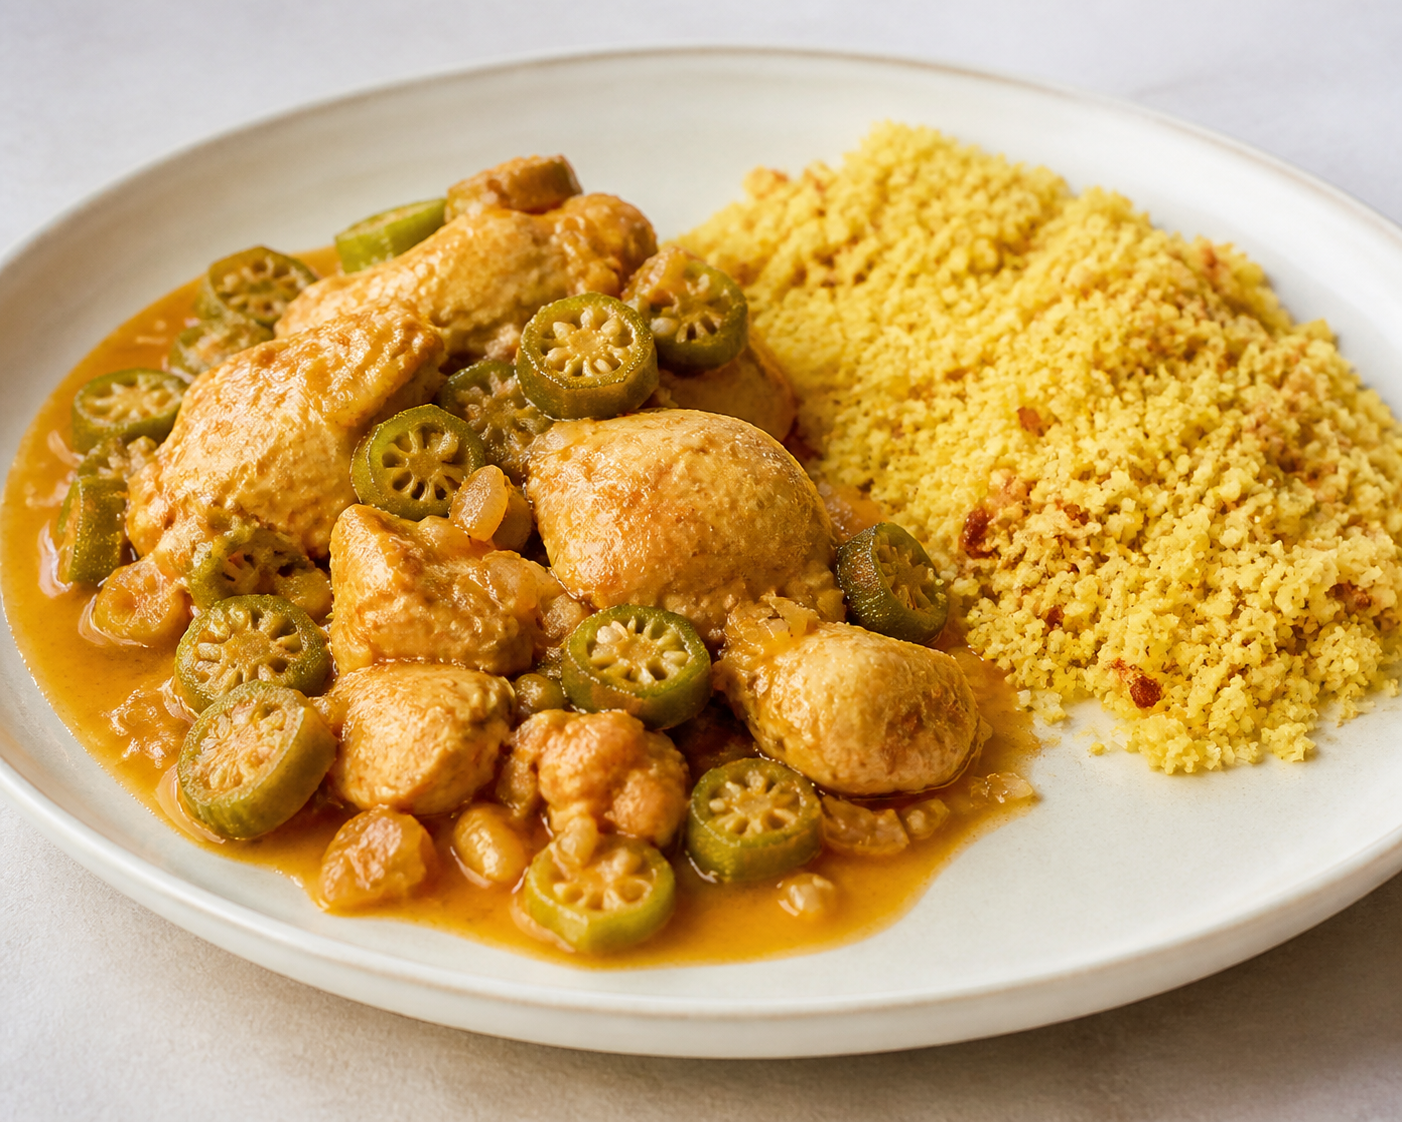
Brazilian Chicken, Okra and Coconut Stew with Toasted Corn Farofa
55 min
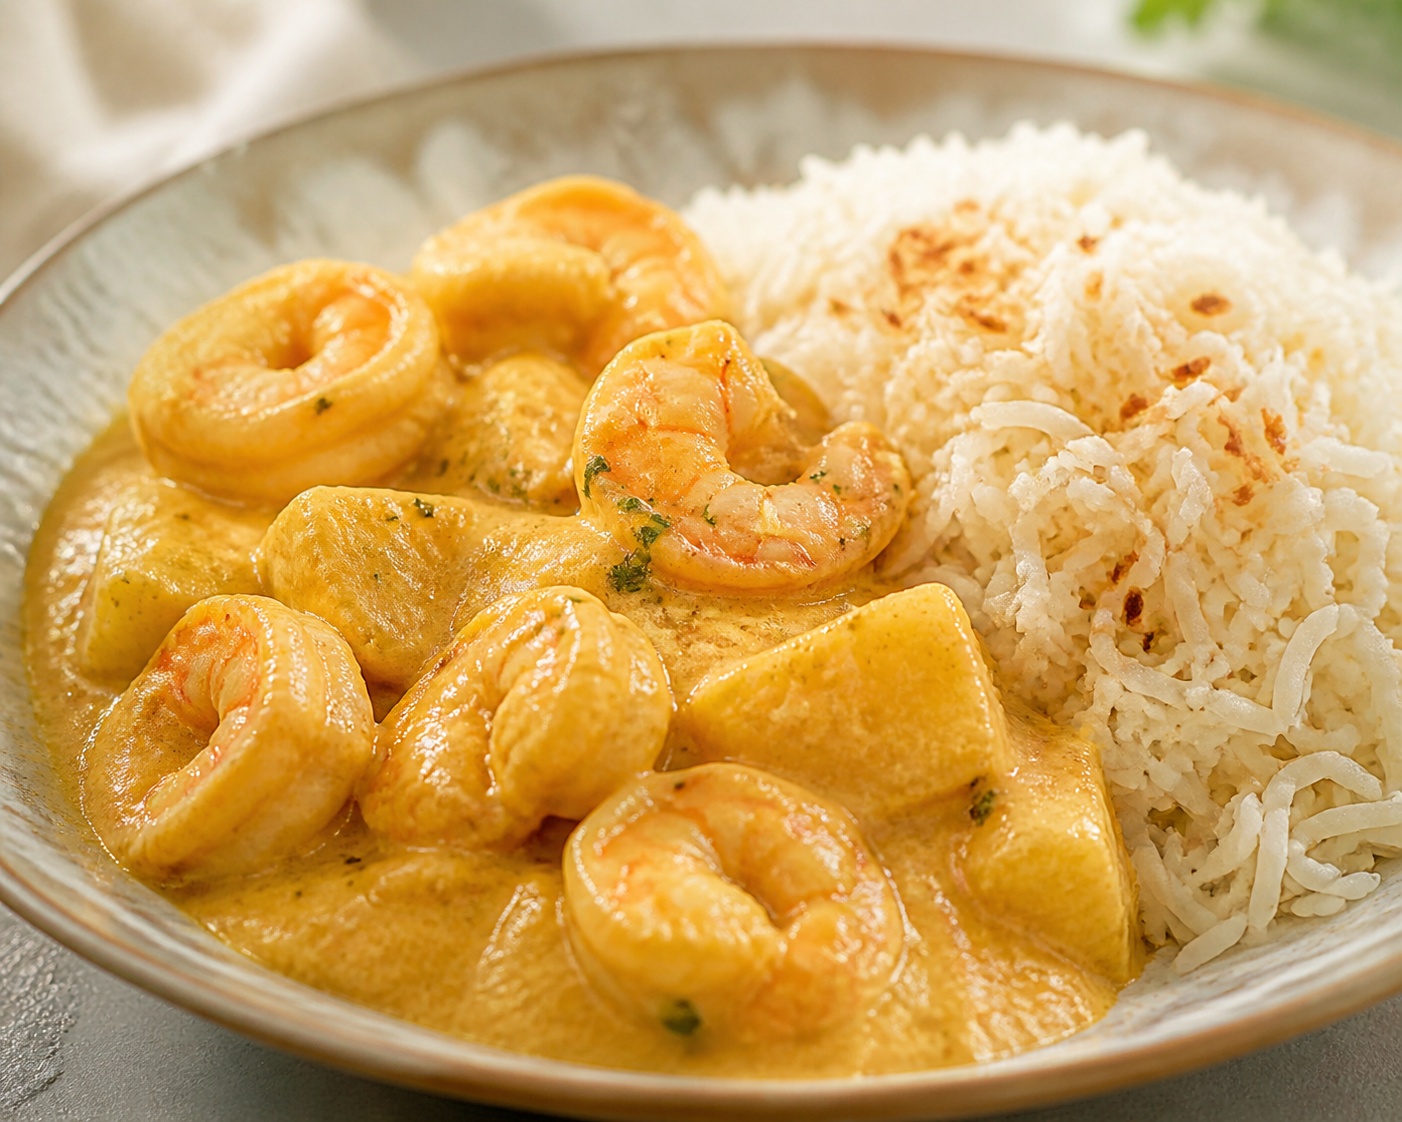
Golden Shrimp and Cassava Bobó with Toasted Coconut Rice
60 min
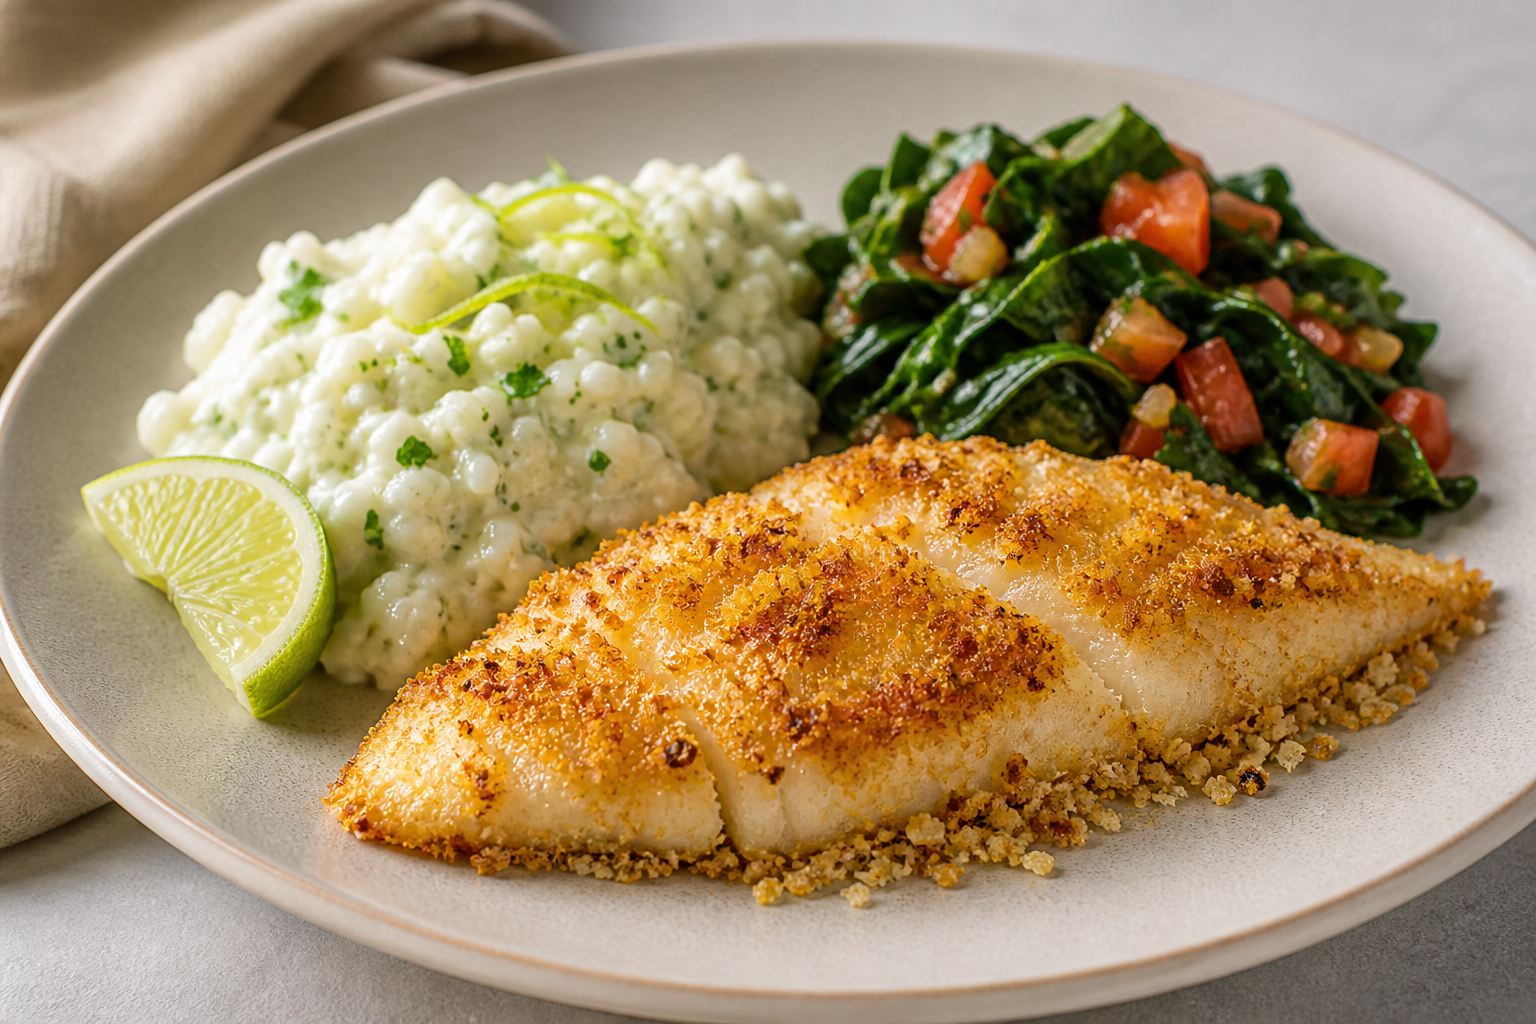
Brazilian Tapioca-Coconut Crusted Tilapia with Creamy Lime Rice, Sautéed Collards and Tomato Vinaigrette
65 min
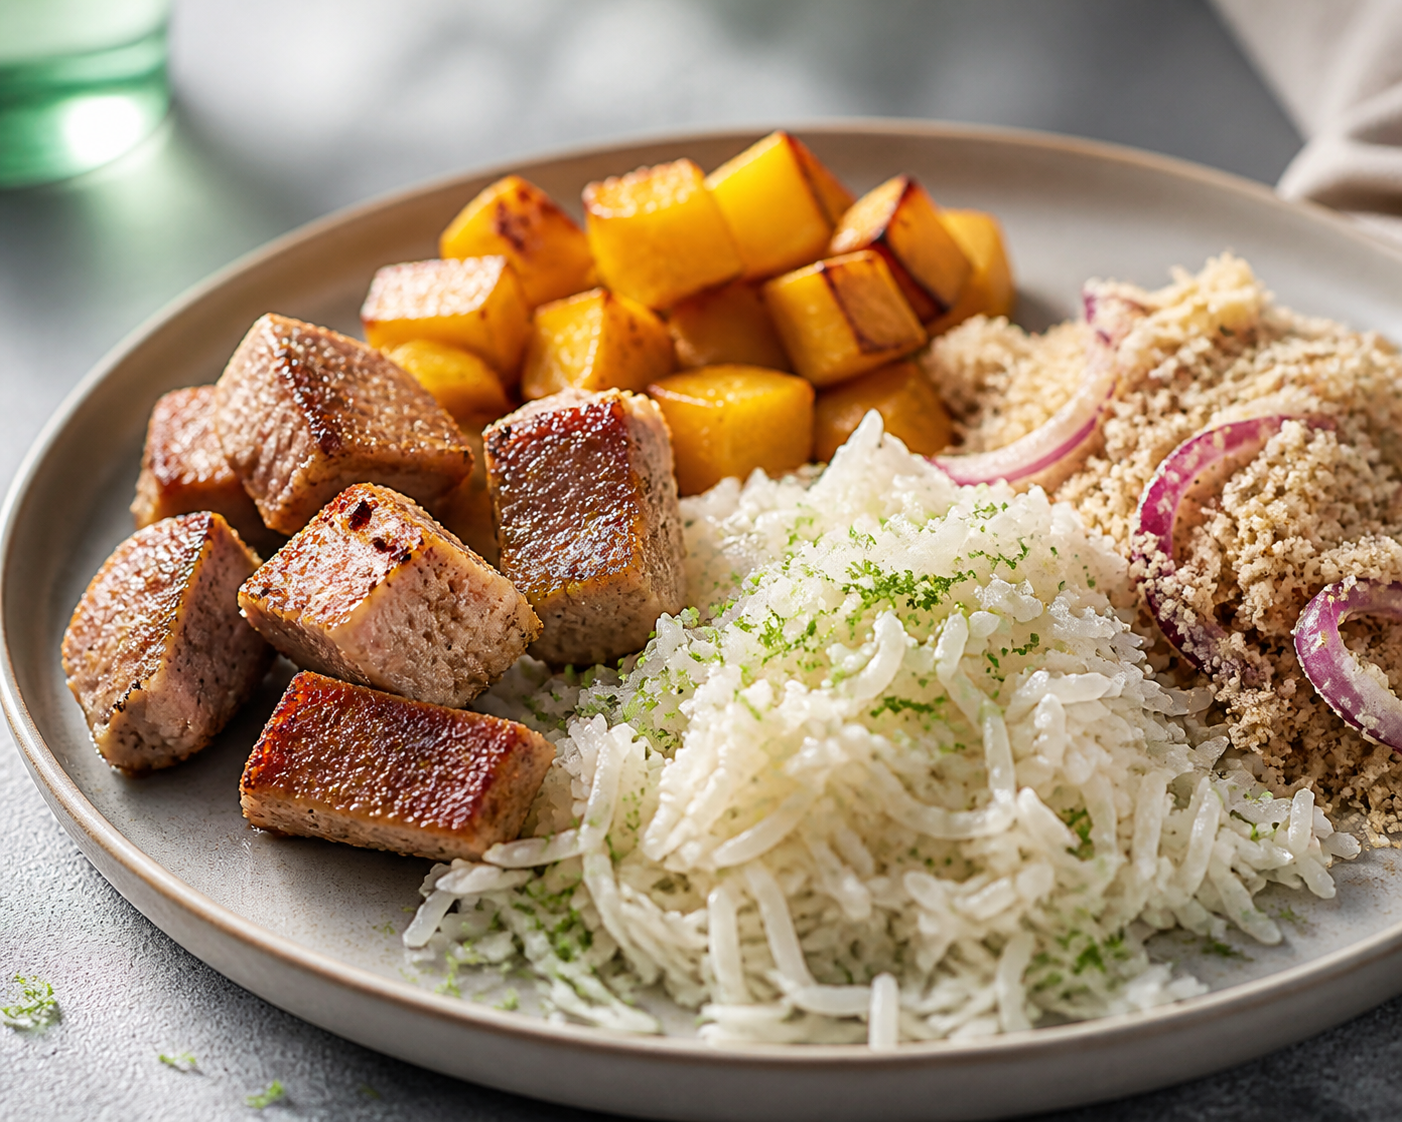
Brazilian Creamy Coconut-Lime Rice with Seared Pork, Roasted Squash, and Red Onion Farofa
65 min
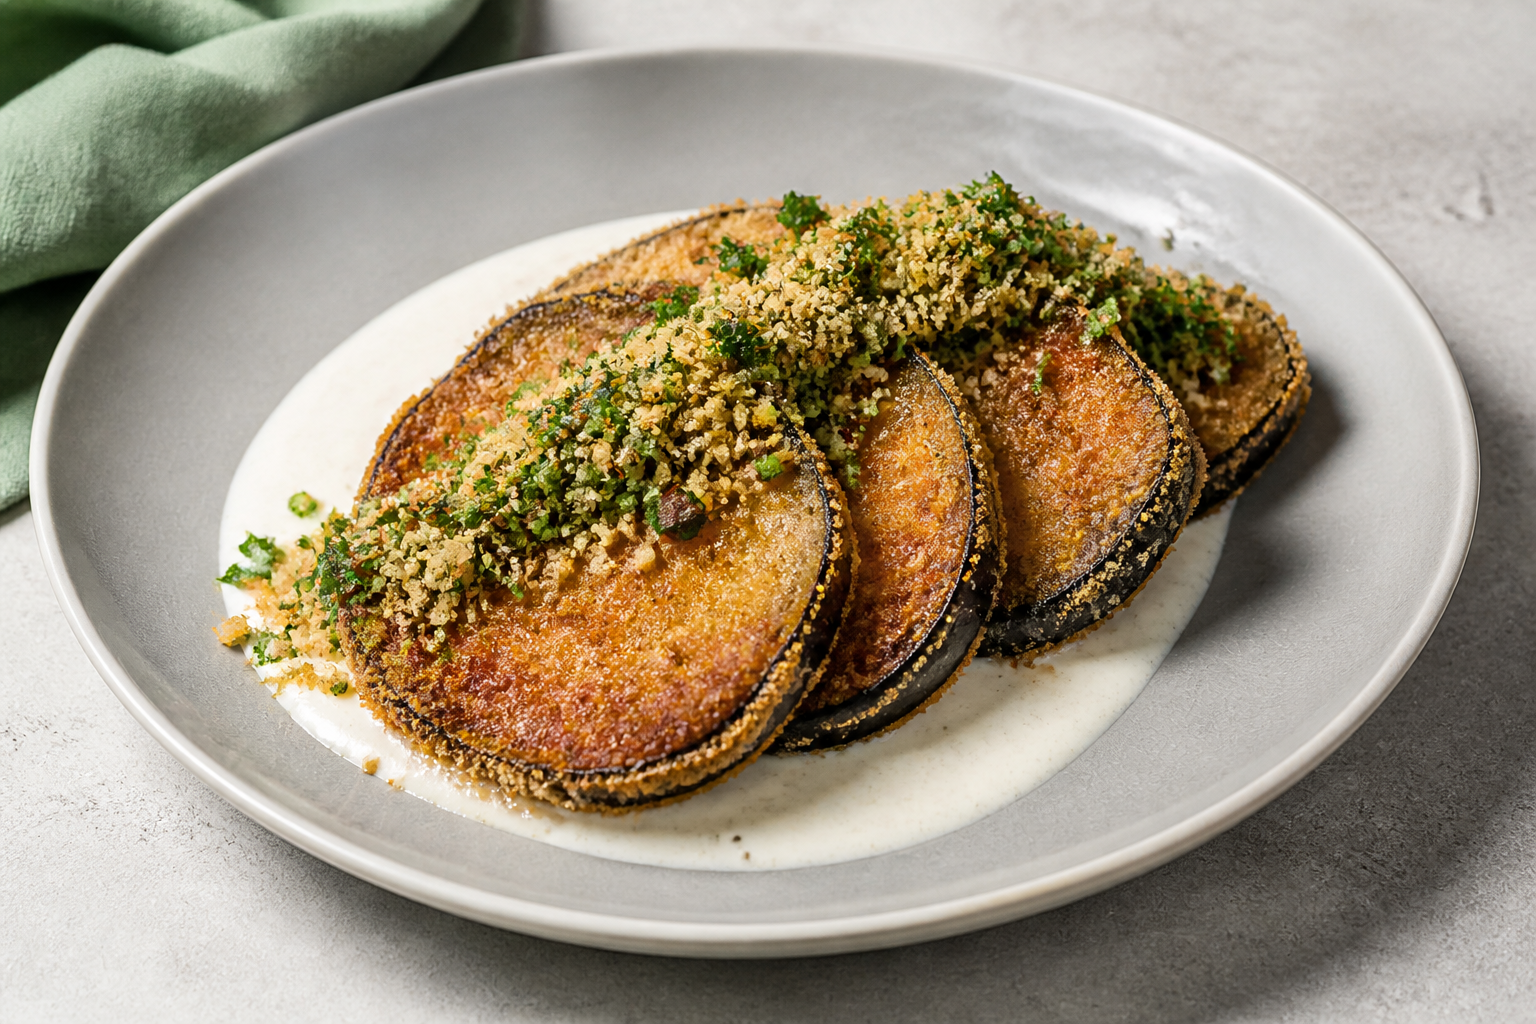
Brazilian Eggplant Cutlets with Coconut-Ginger Cream and Herb Farofa
60 min