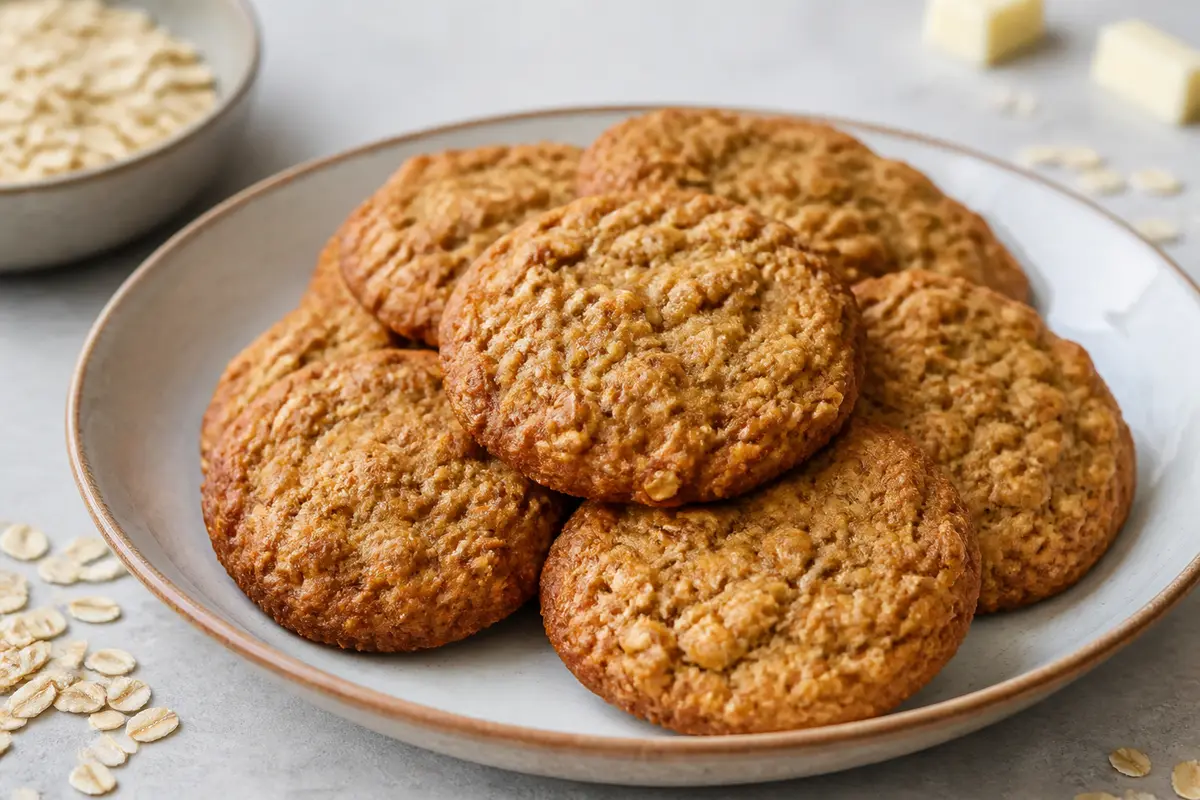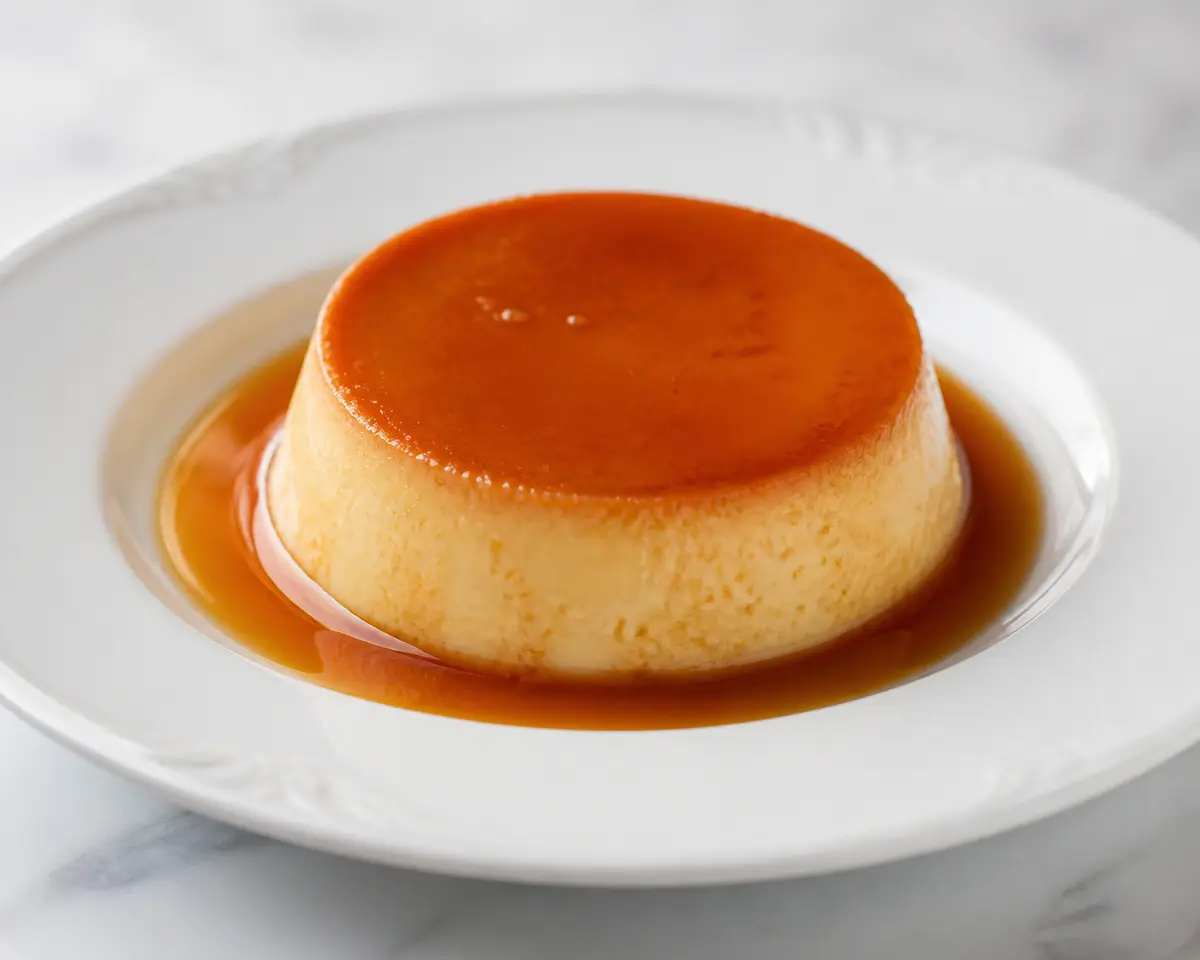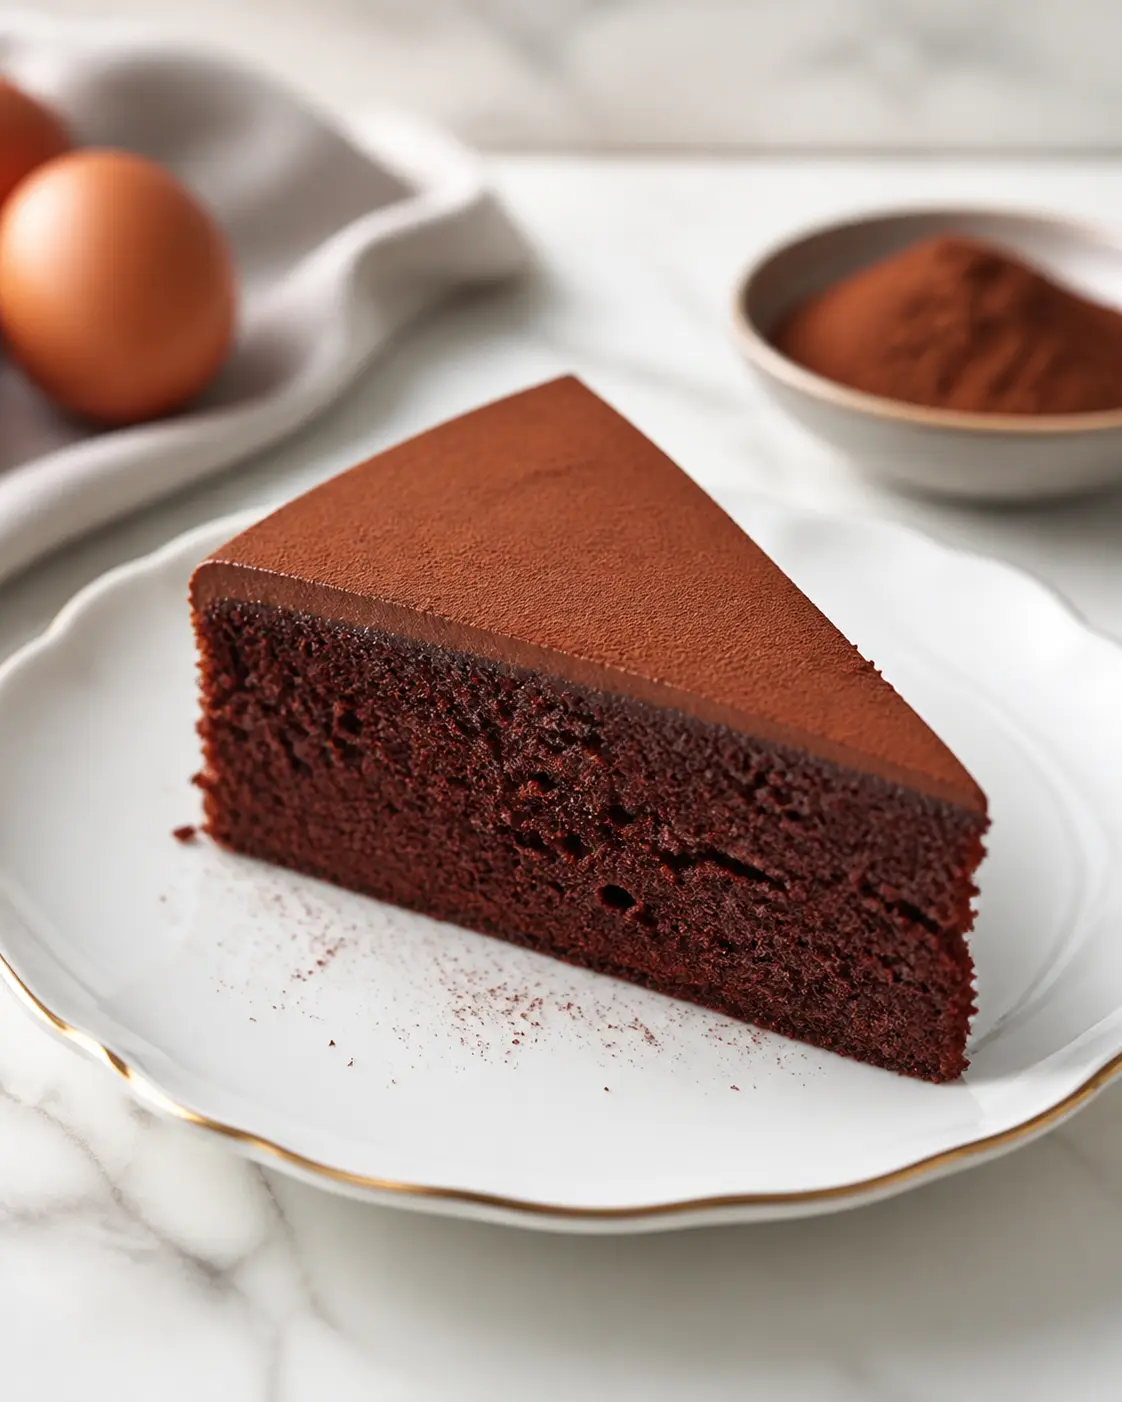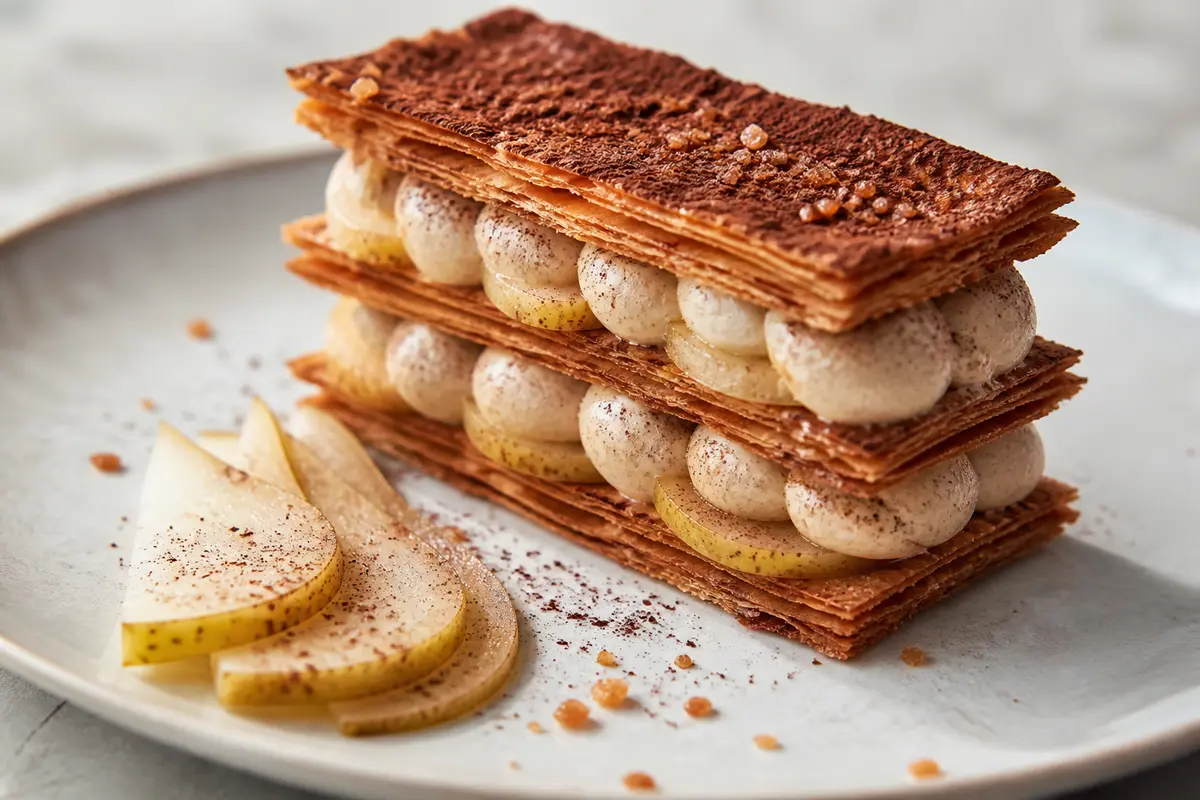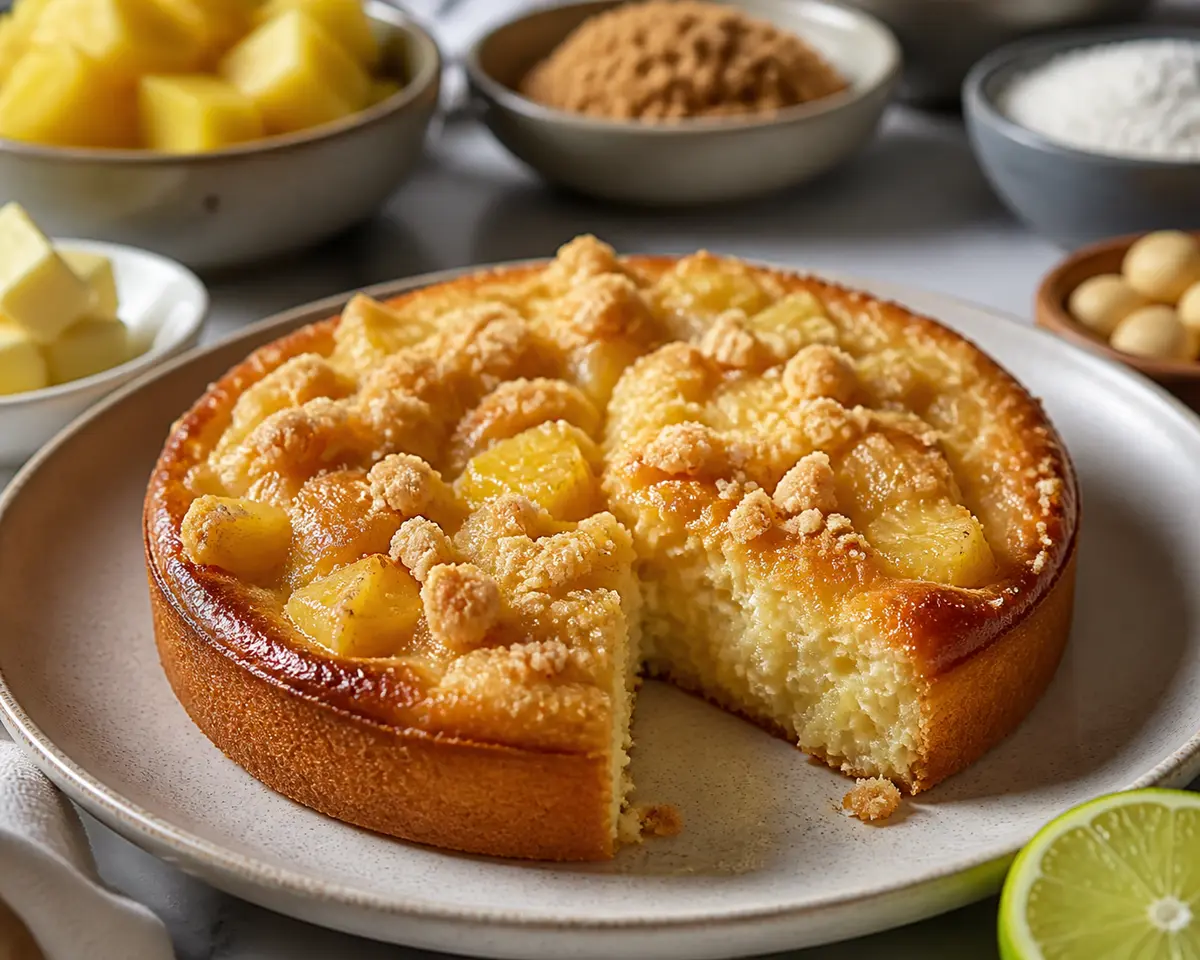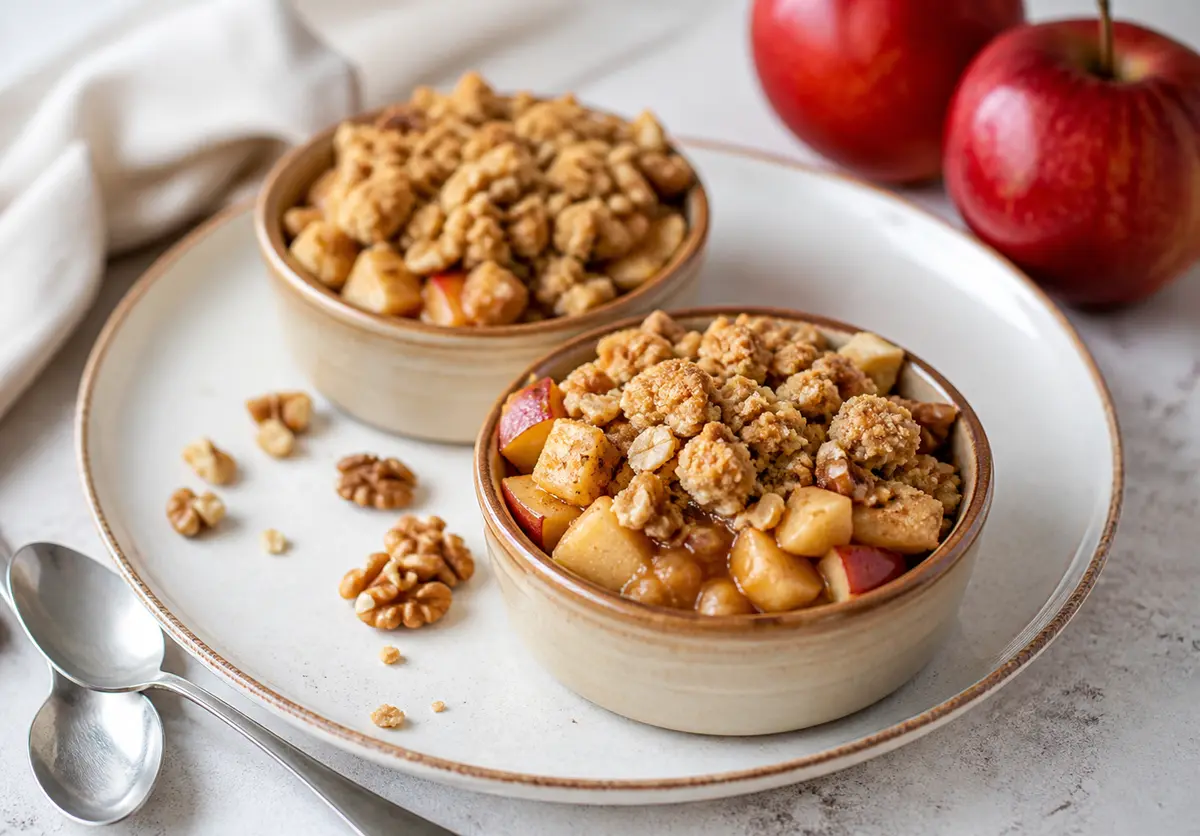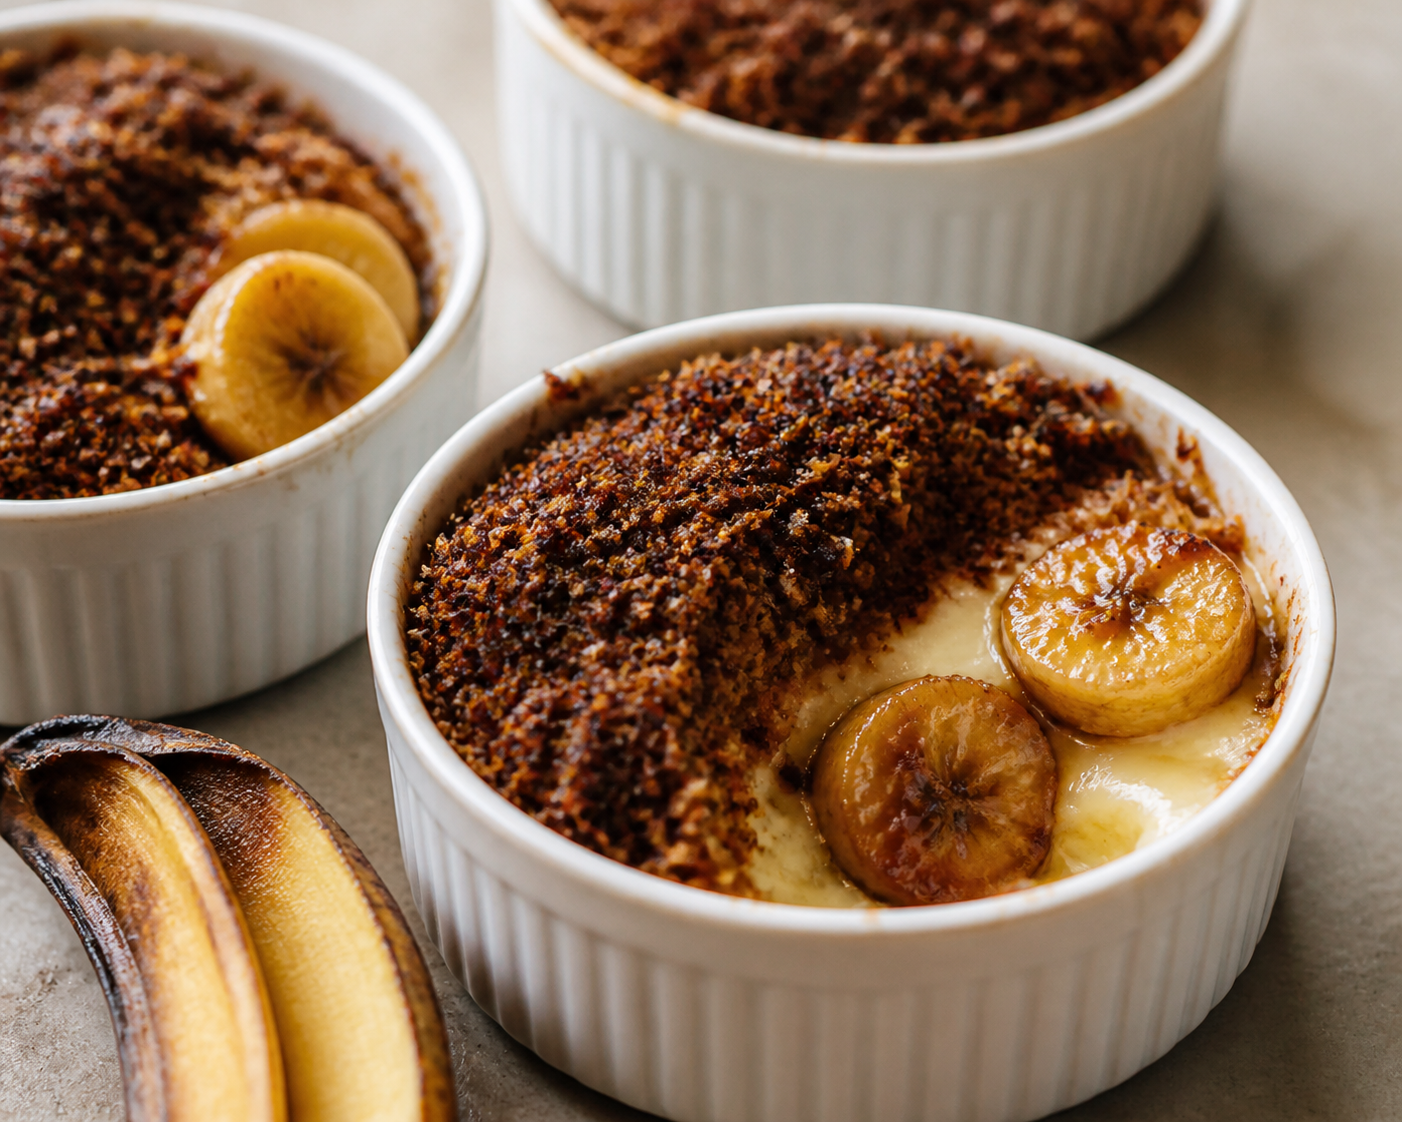
Warm caramelized banana and vanilla cream pots with crispy coconut cocoa crust
An original dessert baked in small ramekins: a base of banana caramelized with brown sugar and butter, topped with a silky vanilla cream and finished with a crisp coconut, cocoa, and oat crust. It bakes until warm, creamy, and lightly crunchy on top.
Ingredients
- 2 unit ripe bananas (sliced into 1/2-inch rounds)
- 30 g unsalted butter (divided)
- 55 g brown sugar (divided)
- 180 ml heavy cream
- 120 ml whole milk
- 2 unit egg yolks
- 12 g cornstarch
- 5 ml vanilla extract
- 1 g fine salt
- 30 g rolled oats
- 25 g shredded coconut
- 8 g unsweetened cocoa powder
- 20 g all-purpose flour
Nutrition facts
per serving
Approximate nutritional information. Estimated from the recipe’s ingredients and amounts, using standard reference nutrition values. It may vary with brands, sizes and cooking method. For guidance only; not a substitute for medical or dietary advice.
Allergens
Instructions
- 1
Preheat the oven to 190°C / 375°F. Lightly grease 4 individual ramekins with a little of the butter.
- 2
In a medium skillet over medium heat, melt 15 g (1 tbsp) of the butter. Add the banana slices and 20 g (1 1/2 tbsp) of the brown sugar. Cook for 2 to 3 minutes, turning gently, until the bananas are golden and lightly caramelized. Divide the bananas among the ramekins.
- 3
In a saucepan, combine the heavy cream, milk, and vanilla. Heat over medium heat until very hot but not boiling.
- 4
In a bowl, whisk the egg yolks with 20 g (1 1/2 tbsp) of brown sugar, the cornstarch, and the salt until smooth. Slowly pour the hot cream and milk mixture into the yolks, whisking constantly.
- 5
Return the mixture to the saucepan and cook over medium-low heat, stirring constantly, for 2 to 4 minutes until thickened to a soft custard texture. Spoon the vanilla cream over the bananas in the ramekins.
- 6
In another bowl, mix the rolled oats, shredded coconut, cocoa powder, and all-purpose flour. Add the remaining 15 g (1 tbsp) butter and the remaining 15 g (1 tbsp) brown sugar, then rub together with your fingers until small crumbs form.
- 7
Sprinkle the crispy topping over each ramekin, covering the surface evenly.
- 8
Bake for 14 to 16 minutes at 190°C / 375°F, until the top is lightly set and toasted around the edges.
- 9
Let rest for 5 minutes before serving so the filling settles and the dessert stays warm.
Chef tips
For a more defined texture, cool the custard for 5 minutes before adding the topping. Serve as is or with a small spoonful of unsweetened plain yogurt for contrast.
Substitutions
You can replace the all-purpose flour with a gluten-free blend if you need a gluten-free version, and swap the shredded coconut for sliced almonds if there is no tree-nut allergy. Brown sugar can be replaced with coconut sugar for a deeper toasted flavor.
What I used to make it
Generic kitchen tools that work for this recipe. You don’t need to buy anything to make it.
 Illustrative image
Ninja Professional BL610 Blender
Smoothies, sauces and soups
- Smoothies, sauces and soups
- Easy-to-wash jar
- Check the power and jar size
 Illustrative image
Cosori Pro LE 5 Qt Air Fryer
Browning and baking with little oil
- Browns food with very little oil
- Handy for vegetables, chicken and reheating
- Check the basket capacity
 Illustrative image
T-fal Ultimate Hard Anodized 12" Non-Stick Pan
Eggs, omelets and stir-fries
- Eggs and omelets that don’t stick
- Comfortable, sturdy handle
- Use wooden or silicone utensils
As an Amazon Associate, I earn from qualifying purchases.
Ratings & reviews
Sign in to rate this recipe
Sign in